Quick Summary
Slip and fall accidents in hotel bathrooms are prevented by removing standing water, choosing textured surfaces, fitting secure grab rails and non-slip mats, and checking them on a fixed schedule. Staff should also follow a clear wet floor procedure and keep records of every hazard found.
- Fix standing water, loose grab rails and curled bath mats before a room is let.
- Choose textured, matt or slightly rough finishes rather than high-gloss surfaces in wet areas.
- Check mats, rails and drains weekly, and review surface condition and treatment wear monthly.
- Dry wet floors promptly, place a visible warning sign, and log the cause so repeat problems are tracked.
- Check any bath or shower tray for chips or cracks before anti-slip treatment, and plan it for quiet periods.
Table of Contents
- Why Hotel Bathrooms Are a Common Slip Hazard
- Step 1: Assess Your Bathrooms with a Hotel Bathroom Safety Checklist
- Step 2: Choose Suitable Flooring and Surfaces
- Step 3: Apply Anti-Slip Treatment to Baths and Shower Trays
- Step 4: Put Hotel Bathroom Wet Floor Procedures in Place
- Step 5: Fit Grab Rails, Mats and Lighting Where They Help
- Step 6: Train Housekeeping Staff and Set Inspection Schedules
- Step 7: Respond Properly and Record Guest Accident Reporting Procedures
- Keeping Your Bathrooms Safe Between Refurbishments
- Frequently Asked Questions
How to Prevent Slip and Fall Accidents in Hotel Bathrooms
Last Updated: 30 October 2026
Why Hotel Bathrooms Are a Common Slip Hazard
Preventing slip and fall accidents in hotel bathrooms starts with understanding why they happen so often. Wet, smooth surfaces combined with unfamiliar layouts create a real risk for guests, and that risk falls on the hotel to manage.
Most slips come from a small number of causes. Water on the floor after a shower is the biggest one. Smooth tiles and polished bath surfaces offer little grip when wet. Soap residue and bath products add another layer of danger.
Guests are also more vulnerable than they realise. They may be tired after travel, using lighting they have never seen before, or stepping out of a bath they do not know well. A bathroom that feels routine to staff can feel unfamiliar to a guest.
Key causes to address:
- Standing water on bathroom floors
- Smooth, untextured bath and shower surfaces
- Soap and shampoo residue
- Poor lighting and low visibility
- Missing or unsuitable grab rails
- Guests unfamiliar with the room
Hotels that treat bathroom safety as a routine part of housekeeping tend to see fewer incidents. The steps below show how to build that routine.
Step 1: Assess Your Bathrooms with a Hotel Bathroom Safety Checklist
Start by walking through each bathroom type in your property. A hotel bathroom safety checklist gives your team a consistent way to spot hazards before a guest does, but the checklist is only useful if it is prioritised and repeated on a realistic schedule.
Work through each room and look at the floor, the bath or shower, the lighting and the fittings. Note anything that could cause someone to slip or lose their balance. Rather than treating every item as equally urgent, rank findings so the highest-risk problems are fixed first.
Priority 1, fix before the room is let:
- Standing water that does not drain away
- Loose or missing grab rails
- Curled, split or unsecured bath mats
- Broken or dim lighting over the bath or shower
- Cracked or chipped bath and shower tray surfaces
Priority 2, fix within the maintenance cycle:
- Worn or polished floor finishes that lose grip when wet
- Slow drains that pool water
- Missing or faded wet-floor signage
- Shower heads or taps that spray beyond the enclosure
Priority 3, monitor at review:
- Condition of anti-slip treatments
- Grout and sealant condition
- Guest feedback mentioning slipping or water on the floor
Repeat this check on a fixed schedule, not just after a complaint. A common mistake is assessing rooms once during a refurbishment and never again. Surfaces wear, mats move and finishes lose their grip over time. A practical pattern is a daily visual check by housekeeping, a weekly deeper check of fittings and drains, and a monthly review of surface condition and treatment wear.
Record what you find in a simple log, with the room number, the date, the hazard and the action taken. Over time, the log shows which rooms or fittings need the most attention and helps you spot a recurring problem, such as the same shower tray cracking or the same mat curling, before it causes an injury.
Step 2: Choose Suitable Flooring and Surfaces
Floor and surface choice has a large effect on slip risk. When refitting or refurbishing, pick finishes that keep their grip when wet.
Textured tiles generally offer more grip than high-gloss ones. Worn or marked stainless steel, metal and acrylic fittings can often be brought back towards their original look through surface polishing and restoration rather than replaced. A matt or slightly rough finish helps water drain and gives feet more to hold. Smooth, polished surfaces should be avoided in areas where water regularly collects.
For baths and shower trays, a non-slip finish is the most direct safeguard. Professional anti-slip treatment is available for suitable baths and shower trays, subject to assessment.
Choosing the right surface is one part of the picture. Maintenance matters just as much, as the next steps explain.
Step 3: Apply Anti-Slip Treatment to Baths and Shower Trays
Baths and shower trays are where many slips happen.
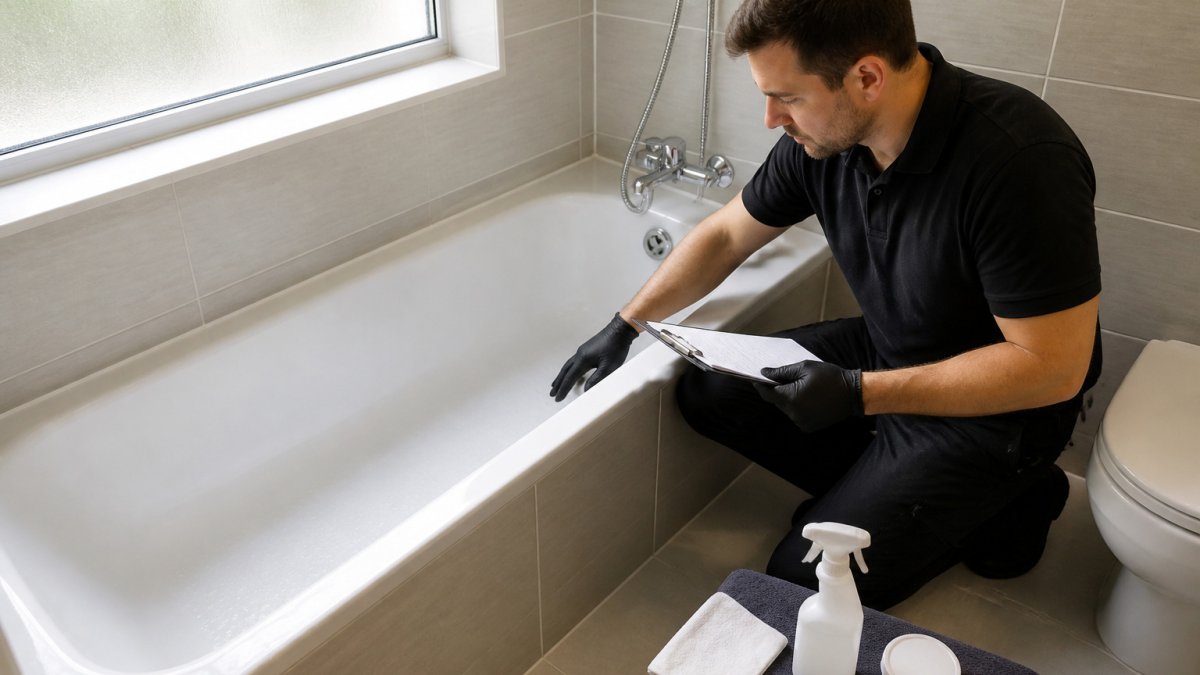
Before treating any surface, check that it is suitable. Not every material responds the same way, and the condition of the surface affects the result.
Practical points to consider:
- Ask whether the bath or tray material is suitable for treatment
- Check the surface for chips or cracks first, as these may need repair
- Plan treatment for quiet periods to avoid room downtime
- Ask for the treated surface to be checked again after a set period
Treatment works best as part of a wider plan.
!A housekeeping technician in a clean hotel bathroom inspecting a bath surface with a textured non-slip finish, bright natural light from a frosted window
The points below set out what to check before treating a bath or shower tray.
| Check | Why it matters | Action |
|---|---|---|
| Material suitability | Not every material responds the same way | Confirm before treating |
| Chips or cracks | Damage can affect the result | Repair first |
| Timing | Avoids room downtime | Plan for quiet periods |
| Follow-up | Confirms treatment still works | Recheck after a set period |
Step 4: Put Hotel Bathroom Wet Floor Procedures in Place
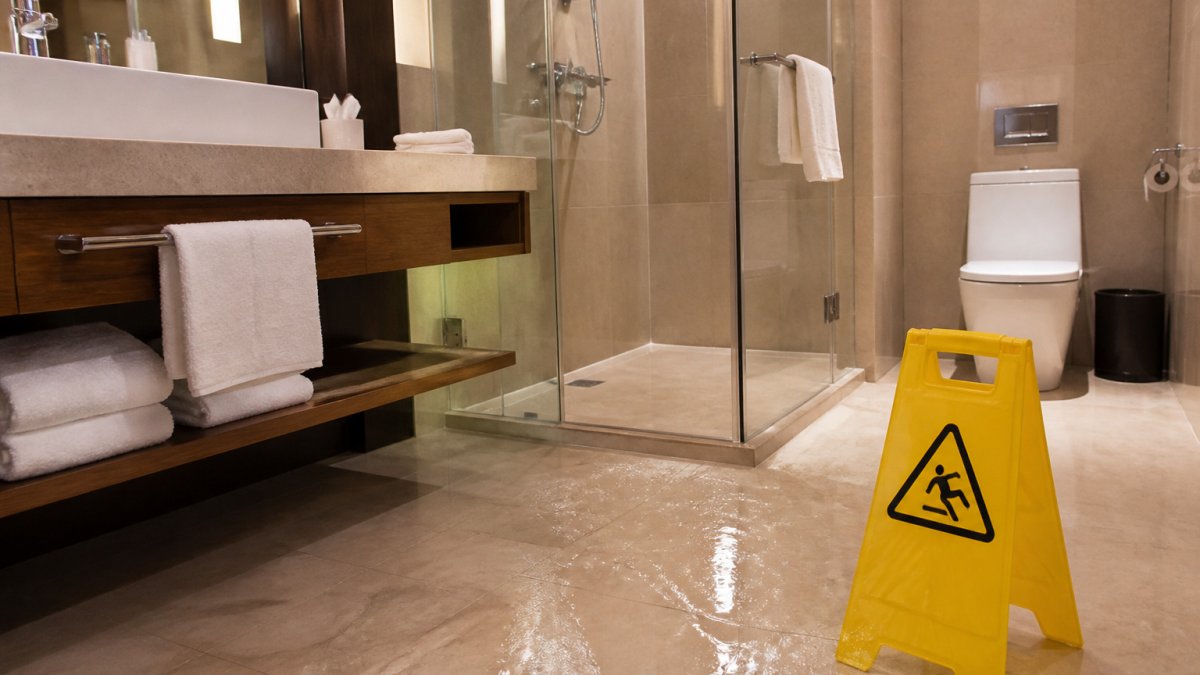
Clear wet floor procedures help staff act quickly when water gets onto a surface. Speed matters here, because a wet floor left unattended is a hazard for the next guest.
Set a simple standard for every team member to follow. When water is spotted, staff should dry the area, place a visible warning sign and report the cause if it keeps happening.
A basic wet floor procedure:
- Spot the water and assess how far it has spread
- Dry the area fully with suitable equipment
- Place a clear warning sign while the floor dries
- Check the cause, such as a leaking tap or a loose mat
- Log the incident so repeat problems can be tracked
Avoid leaving signs in place longer than needed. Once the floor is dry, remove the sign and confirm the area is safe to use.
Step 5: Fit Grab Rails, Mats and Lighting Where They Help
Physical aids reduce the impact of a slip when it does happen, and they help guests keep their balance in the first place. Grab rails, non-slip mats and good lighting each play a role, but only if they are selected, fitted and maintained properly.
Grab rails. Place grab rails where guests naturally reach when stepping in or out of a bath or shower, and where they will steady themselves rather than pull on a loose fitting. Fix them securely into a sound substrate, a rail that moves under load can be more dangerous than none at all. Check fixings regularly for movement, corrosion or loosening, and replace any rail that flexes. Where possible, choose rails with a textured grip and a contrast colour so they are easy to see against the wall.
Non-slip mats. Mats should be placed inside the bath or shower and outside it. Check that they lie flat and do not curl at the edges, since a rucked mat is a trip hazard in its own right. Suction-backed mats need to be lifted, cleaned and dried regularly, because soap residue and mildew reduce grip and create a hygiene problem. Replace mats that have hardened, lost suction or begun to split rather than trying to clean them back into service.
Lighting. Good lighting makes water, steps and edges easier to see. Make sure bathrooms are bright enough over the bath, shower and floor, and replace any bulbs that have gone dim. Where possible, use a light that comes on automatically or is easy to find in the dark, so guests are not stepping into an unlit bathroom at night. Check that light fittings in wet zones are suitable for the location and are kept in good condition.
Maintenance standards. Whichever aids you install, set a simple standard for checking them: rails for movement, mats for grip and flatness, and lights for output. Record the check and replace anything that fails rather than waiting for a guest to report it. This is also where surface condition matters, a chipped or worn bath or tray can undermine the grip of a mat and make a rail harder to fit securely, so deal with damage before adding new aids.
Step 6: Train Housekeeping Staff and Set Inspection Schedules
Your team is the first line of defence against bathroom slips. Where planned and reactive surface repairs need scheduling across communal areas, void turnaround and portfolio maintenance, these can be built into the same inspection routine. Training helps them spot hazards and respond consistently, whatever the shift.
Cover the basics in regular training sessions. Staff should know what a hazard looks like, how to dry a floor safely and how to report a problem.
Inspection schedule ideas:
- Daily checks of high-use bathrooms during busy periods
- Weekly checks of mats, rails and drains
- Monthly reviews of surface condition and treatment wear
- Immediate checks after any reported incident
Keep a simple record of what was checked and what was found. Over time, these records show which rooms or fittings need the most attention.
Step 7: Respond Properly and Record Guest Accident Reporting Procedures
Even with strong prevention, accidents can still happen. How your hotel responds matters greatly, both for the guest and for your records.
Make sure the guest is safe and receives first aid where needed. Then secure the area so no one else is harmed while the incident is investigated.
Clear guest accident reporting procedures make the process consistent. Record the time, location, what happened and any witnesses. Take photographs of the accident site where it is safe and appropriate to do so.
Key steps after an incident:
- Attend to the guest and call for medical help if required
- Secure the area and remove any cause that is still present
- Complete a written incident report the same day
- Review the report to spot patterns and prevent a repeat
Seek professional advice on any claim or legal question. Your reporting should stick to facts, so it can be used reliably if it is ever needed.
Keeping Your Bathrooms Safe Between Refurbishments
Bathroom safety is not a one-off project. Surfaces wear, grip fades and fittings loosen between refurbishments, so regular upkeep is essential.
Surface Magic Repairs helps hotels maintain bathroom surfaces by repairing chips, scratches and cosmetic damage in place. Where a bath, tray or fitting has been damaged, a repair can be a practical alternative to full replacement, subject to assessment of the material and condition. Send clear photographs of the affected area, together with your full address and postcode, and the team can assess whether a repair is suitable and provide a quotation. You can also call 0800 085 7773 or visit surfacemagicrepairs.co.uk.
Frequently Asked Questions
How can hotels prevent slips and falls in bathrooms?
Hotels reduce bathroom slips by combining several measures rather than relying on one fix. Start with a hazard inspection of every bathroom, check flooring and bath or shower surfaces for smoothness and wear, and fit suitable non-slip mats or treatments where the surface is slippery. Keep floors dry through routine cleaning and make sure water does not pool around the bath or shower. Good lighting, sturdy grab rails and clear guest guidance all help. Record each inspection so trends can be spotted and acted on early.
What should a hotel do after a guest slips in a bathroom?
First make sure the guest is safe and offer first aid or medical help where needed. Secure the area and dry any water on the floor, then photograph the accident site and the surface involved. Record the time, the guest's account and any witnesses in an incident report, and check whether the surface needs repair or treatment before the room is returned to use. Review the event alongside your previous inspection records to see whether the same hazard has been reported before.
What flooring is suitable for a hotel bathroom?
Suitable flooring is slip-resistant when wet and easy to clean. Textured or matt finishes generally offer better grip than high-gloss tiles, and the floor should be laid so that water drains towards the waste rather than pooling. Whatever you choose, check the floor regularly for worn areas, as grip can decline over time. Where an existing floor is slippery but still sound, a specialist anti-slip treatment may be a practical option.
Can anti-slip treatments help make a bath or shower tray safer?
Yes, where the surface is suitable. Anti-slip treatments add grip to a smooth bath or shower tray, which can reduce the risk of guests slipping when they step in or out. Suitability depends on the material and its condition, so a professional assessment is sensible before treatment. Treated surfaces should still be kept clean and checked regularly, as wear and soap residue can reduce grip over time.