Table of Contents
- Common Paint Defects on New Walls
- Why Paint Defects Occur During New Construction
- Best Tools for Wall Surface Repair
- How to Touch Up Paint Without Flashing
- New Build Snagging Paint Repairs: Step-by-Step
- Repairing Paint Damage Before Property Handover
- When Professional Repair is the Better Choice
- Protecting Repaired Surfaces After Work
- Conclusion
- Frequently Asked Questions
Last Updated: September 25, 2026
Common Paint Defects on New Walls
Paint defects on new walls are frustrating, and knowing how to fix paint defects properly can save time and money. They undermine the finished look of a property and raise questions about quality before a handover or tenancy even begins. Common issues include brush marks, roller stippling, drips, runs, uneven coverage, patchy colour, dust nibs embedded in the surface, and poor adhesion that leads to peeling or flaking.
These defects happen more often than builders and decorators like to admit. New construction sites are busy, dusty environments. Painters work quickly under tight schedules. Surface preparation is sometimes rushed. Environmental conditions during painting, humidity, temperature, air movement, can cause problems that only become visible once the paint has dried.
The good news is that many paint defects can be fixed without repainting an entire wall. Understanding what went wrong helps you decide whether a touch-up will work or whether professional intervention is needed.
Why Paint Defects Occur During New Construction
Paint problems on new walls rarely happen by accident. They're usually the result of specific conditions or oversights during the painting process.
Poor surface preparation is the leading cause. New plasterboard, plaster, or render needs proper priming and filling before paint application. If the surface is dusty, damp, or unprimed, paint won't adhere evenly. Defects emerge within days or weeks.
Environmental factors matter significantly. Painting in cold, damp conditions slows drying and can trap moisture beneath the paint film. Painting in direct sunlight causes the surface to dry too quickly, leading to brush marks and uneven colour. High humidity prevents proper curing.
Application errors include using the wrong tools, applying paint too thickly or too thinly, or working with poor technique. Cheap rollers shed fibres into wet paint. Brushes leave bristle marks if not properly maintained. Rushed application leaves lap marks where overlapping strokes meet.
Material issues can also play a role. Low-quality paint has poor levelling properties and won't hide defects well. Mixing old and new paint batches creates colour variation. Using paint that's too old or stored in poor conditions affects consistency.
Understanding the root cause helps you decide whether a simple touch-up will solve the problem or whether the defect runs deeper.
Best Tools for Wall Surface Repair
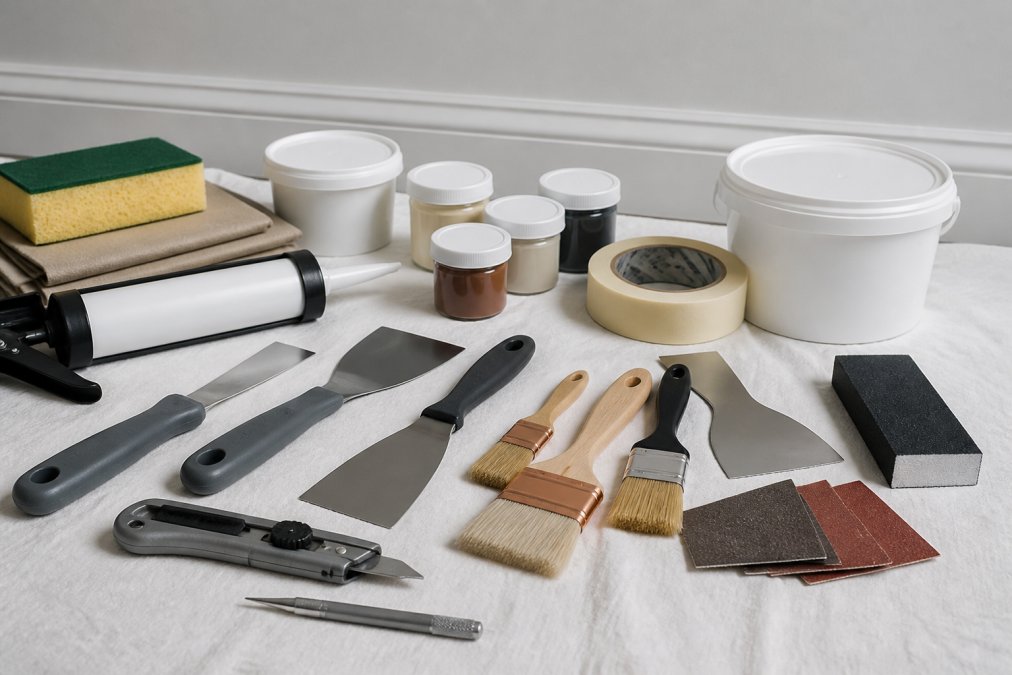
Fixing paint defects requires the right tools and materials. Most touch-ups don't need specialist equipment, but having quality basics makes a real difference.
Preparation tools are essential. A fine-grit sanding block (400-600 grit) smooths defects without damaging surrounding paint. A filling knife or scraper removes loose paint, dust, and debris. A tack cloth removes fine dust before repainting; this step is often skipped but it's crucial for adhesion.
Filling and smoothing depends on the defect type. For small holes or indentations, use a flexible filler that shrinks minimally as it dries. A filling knife applies filler smoothly. A sanding block finishes the repair flush with the surrounding surface.
Application tools for paint touch-ups include small brushes for precise work and small foam rollers for blending larger areas. Foam rollers leave fewer marks than bristle brushes on small repairs. A paint tray or small container holds your paint without waste.
Colour matching is critical. If you're touching up, you need paint that matches exactly. Bring a paint sample or flake from the wall to your supplier. Digital colour-matching systems can scan your wall and produce a matching paint code.
How to Touch Up Paint Without Flashing
"Flashing" is when a touch-up area looks noticeably different from the surrounding paint, often shinier or a different shade. It happens because fresh paint reflects light differently than aged paint, or because the new paint doesn't match the original exactly.
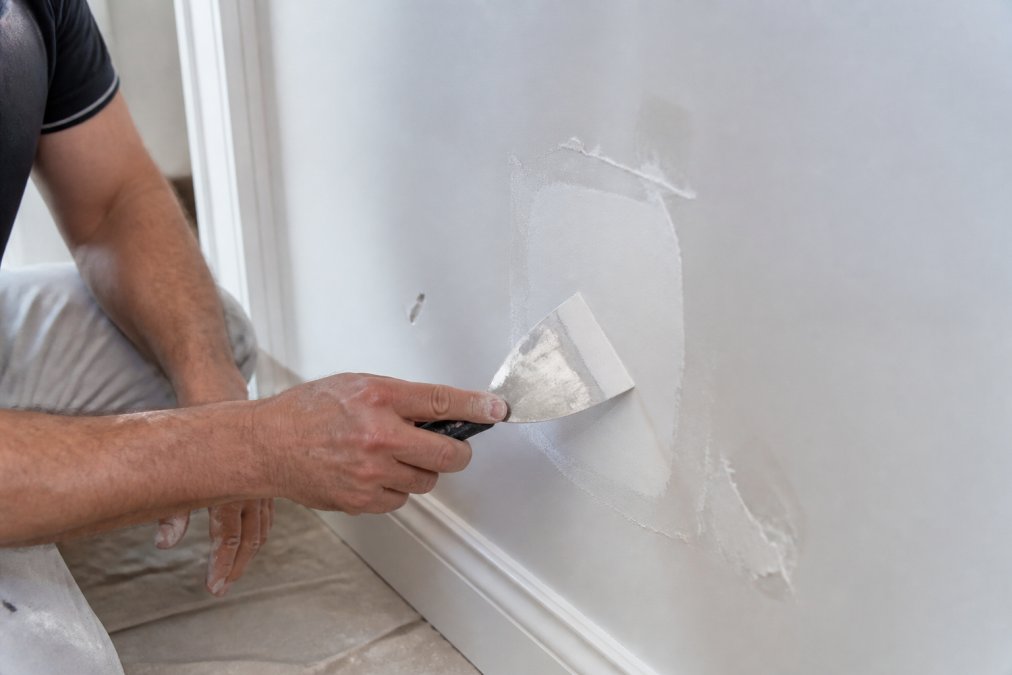
Start with surface preparation. Sand the defect area lightly with 400-grit paper to remove loose paint and create a smooth surface. Wipe away all dust with a damp cloth, then allow it to dry completely. This step prevents the new paint from sitting on a dusty base where it won't adhere properly.
Match the paint exactly. This is non-negotiable. Bring a paint chip from the wall to your supplier and ask for a colour match. If the original paint is aged, new paint from the same code may look slightly different initially; it will blend as it ages. If you can't identify the original paint, ask the builder or developer for the specification.
Apply thin coats. One thick coat causes flashing and an uneven finish. Two or three thin coats blend better and cure more evenly. Allow each coat to dry fully before applying the next.
Feather the edges. Don't paint a sharp rectangle around the defect. Instead, let each coat extend slightly beyond the previous one, fading toward the surrounding wall. This gradual transition disguises the repair boundary.
Use the right tool. A small foam roller blends better than a brush for most wall repairs. Brush marks are more visible on flat walls. If you must use a brush, use a quality one with fine bristles and apply paint with light pressure.
New Build Snagging Paint Repairs: Step-by-Step
New build properties often have paint defects that should be corrected before handover. Snagging lists typically include paint runs, drips, uneven coverage, and colour variation between rooms.
Step 1: Document the defects. Walk the property with good lighting and make a detailed list. Photograph each defect from multiple angles. Note the room, wall location, and defect type. This creates a clear record and helps contractors prioritise work.
Step 2: Assess suitability for repair. Small defects, brush marks, minor drips, small areas of poor coverage, are repairable. Large areas of poor adhesion, extensive peeling, or widespread colour variation may warrant repainting rather than patching.
Step 3: Prepare the surface. Clean the wall gently to remove dust and loose material. Sand defects lightly. Fill any holes or indentations. Allow filler to dry and sand smooth.
Step 4: Prime if necessary. If you've sanded through to bare plaster or plasterboard, apply primer. This ensures the topcoat adheres and matches the surrounding finish.
Step 5: Apply topcoat. Use the exact paint from the original specification. Apply thin coats, feathering edges to blend with surrounding paint. Allow proper drying time between coats.
Step 6: Inspect and document. Photograph the completed repairs in natural and artificial light. Compare against the original snagging list to confirm all defects have been addressed.
For larger snagging programmes across multiple properties, professional repair services can assess defects, advise on repair versus repainting, and complete work efficiently. Surface Magic Repairs can assist with new-build snagging and cosmetic defect rectification, helping developers and contractors to move handovers forward efficiently.
Repairing Paint Damage Before Property Handover
Paint defects discovered before handover need swift, professional attention. Delays cost money, tenants can't move in, buyers can't complete, and contractors lose momentum on the next project.
Timing matters. Address paint defects as soon as they're identified. Waiting risks dust settling on wet repairs or defects becoming worse if the surface is exposed to traffic or weather.
Prioritise by visibility. Defects in main living areas, bedrooms, and hallways are more noticeable than those in storage areas or utility rooms. Fix high-traffic zones first.
Quality over speed. Rushing repairs leads to visible flaws that require rework. A properly prepared, carefully applied repair takes longer but lasts and looks better.
Document completion. Photograph all repaired areas and keep records. This protects against disputes after handover and provides evidence of professional rectification.
Plan for multiple defects. If a property has several paint issues, batch repairs together. Mobilising a team once is more efficient than multiple visits. Surface Magic Repairs can assess multiple defects across a property or portfolio and complete repairs, aiming to reduce disruption and accelerate handover.
When Professional Repair is the Better Choice
Not every paint defect should be tackled with a brush and paint tin. Some situations demand professional assessment and specialist repair techniques.
Extensive damage that covers large wall areas is better handled by repainting rather than patching. A professional painter can assess whether spot repairs will look worse than a full repaint.
Poor adhesion or peeling suggests a surface preparation problem. Simply repainting over the defect will fail again. The underlying cause, damp, contamination, or wrong primer, must be addressed first.
Colour matching challenges arise when the original paint is no longer available or when the wall has aged unevenly. Professional colour-matching services can analyse the existing finish and produce a precise match.
Textured or specialist finishes require specific application techniques. If the original paint has a texture or is a specialist product, DIY repairs often fail to replicate the finish convincingly.
Multiple defects across properties become time-consuming and costly to manage individually. Professional teams can assess, prioritise, and complete repairs efficiently across multiple units or locations.
Structural issues masquerading as paint defects, such as cracks caused by movement or moisture staining caused by leaks, need investigation before any cosmetic repair. Painting over them masks the problem and wastes time.
Professional repair services can assess whether a defect is genuinely repairable or whether replacement or specialist intervention is needed. This honest assessment can help save money and prevent wasted effort on repairs that won't hold.
Protecting Repaired Surfaces After Work
A professionally repaired paint surface needs care to maintain its appearance and durability.
Allow full curing. Paint continues to harden for days or weeks after application, depending on the product. Avoid touching, washing, or exposing repaired areas to moisture until the paint has fully cured. Check the paint manufacturer's guidance for specific timeframes.
Protect from impact. Newly repaired areas are more vulnerable to damage. Avoid bumping or scraping repaired walls, especially in high-traffic areas. Use corner guards or protective coverings if the area is at risk.
Clean gently. Once cured, clean repaired surfaces with a soft cloth and mild detergent. Avoid abrasive cleaners or stiff brushes that can damage the finish.
Monitor for issues. Check repaired areas regularly for signs of adhesion problems, peeling, or new defects. Early intervention prevents small issues from becoming large ones.
Keep paint records. Store details of the paint used, brand, code, finish type, for future touch-ups. This ensures consistency if repairs are needed later.
Maintain the property. Address damp, condensation, or other environmental issues that could damage the repair. A well-maintained property protects all its surfaces, including repaired ones.
Conclusion
Paint defects on new walls are common but manageable. Small defects, brush marks, minor drips, uneven coverage, often respond well to careful touch-up work using the right tools and exact colour matching. Larger or more complex defects may require professional assessment and repair.
For new-build properties with multiple snagging defects, professional cosmetic repair services can assess all damaged surfaces, advise on repair versus replacement, and complete work efficiently before handover. Surface Magic Repairs specialises in new-build snagging and handover repairs across residential and commercial properties. The team can assess whether defects are repairable, match finishes precisely, and complete work with minimal disruption.
Frequently Asked Questions
Why does paint peel or bubble on newly plastered walls?
New plaster contains moisture that needs time to dry fully before painting. If paint is applied too soon, moisture becomes trapped beneath the surface, causing bubbles and peeling. Poor surface preparation, incompatible primer, or inadequate ventilation during curing can also cause these defects. Proper drying time and surface preparation prevent most peeling issues on new walls.
How do you fix uneven paint patches without repainting the entire wall?
Light uneven patches can sometimes be addressed by feathering additional coats carefully at the edges, but this risks visible overlap lines. For noticeable patchiness, professionals often assess whether the wall needs spot repairs to the substrate first, then carefully blend new paint. The key is matching the sheen and colour exactly. For complex defects, professional assessment prevents costly mistakes.
What's the difference between DIY touch-ups and professional paint repairs?
DIY touch-ups work for minor marks but often show visible flashing (colour or sheen mismatch) because matching paint batches and application technique is difficult. Professional repairs involve proper surface preparation, colour matching, texture reproduction and controlled application. For new-build snagging or pre-handover defects, professional repairs ensure the finish blends seamlessly and lasts longer in high-traffic areas.
Should I sand between paint coats on new walls?
Light sanding between coats can improve adhesion and smoothness, but it's not always necessary on new walls if the first coat is applied correctly. If the wall has dust, drips or rough spots, gentle sanding helps. For new plaster, ensure it's fully cured and sealed with primer before sanding. Over-sanding can damage the surface, so professional guidance is worth seeking for important finishes.
Send clear photographs of the paint defects, the complete wall or room, and the surrounding area, together with your full address and postcode. Surface Magic Repairs can assess whether repairs are suitable and provide a quotation. Contact the team on 0800 085 7773 or visit https://surfacemagicrepairs.co.uk for more information about new-build snagging and cosmetic surface repairs.