Quick Summary
Prevent water damage on a wooden worktop by wiping up splashes at once, sealing the sink joint and tap holes, protecting exposed end grain, and oiling or refinishing the surface regularly. Check under the sink monthly for leaks, because slow leaks cause most of the harm. Early stains can often be sanded and refinished.
- Wipe up splashes and standing water straight away, before they dry and leave rings.
- Check sealant around the sink rim and tap holes every few months and replace any damaged sealant.
- Seal exposed end grain with two thin coats of the surface finish.
- Oil the surface every few months, and more often near the sink, once water stops beading.
- Check under the sink monthly, since a slow leak can soak the timber for weeks unseen.
Table of Contents
- Why Wooden Worktops Suffer Water Damage
- Step 1: Protecting a Wooden Worktop Around the Sink
- Step 2: Choosing a Suitable Protective Finish
- Step 3: How to Oil a Wooden Worktop
- Step 4: Drying Wet Areas Promptly and Checking for Leaks
- Step 5: Recognising Early Signs of Water Damage
- Step 6: Removing Water Marks from Wooden Worktops
- Step 7: Repairing Water-Damaged Wooden Worktops
- Booking Your Next Surface Inspection
- Frequently Asked Questions
Why Wooden Worktops Suffer Water Damage
Last Updated: 31 October 2026
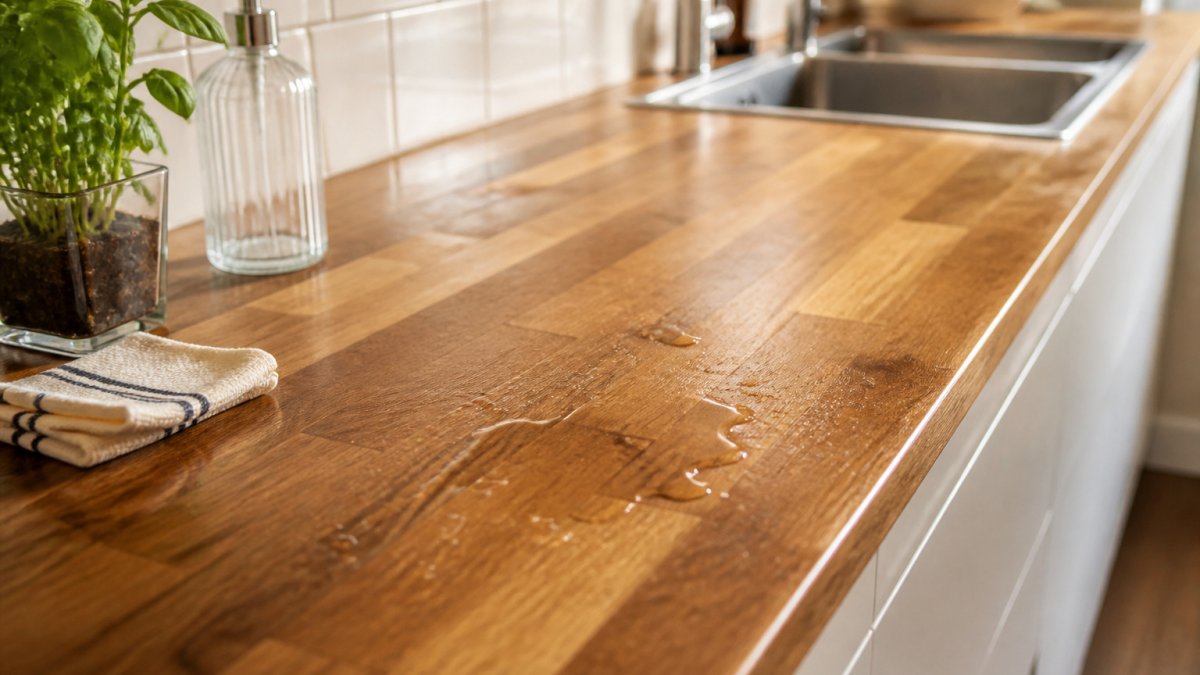
Water is the biggest enemy of a wooden worktop, and most of the damage happens slowly. A small puddle left beside the sink for an hour rarely causes harm on its own. Repeated splashes, a drip under a tap, or a worktop that never fully dries can swell, stain and eventually rot the timber. The damage is usually preventable.
Wood is naturally porous. Without a sealed or oiled finish, it draws moisture into its surface and edges. The most vulnerable spots are the sink area, the tap holes and the exposed end grain at the ends of the board, which absorbs water far faster than the flat top.
Knowing where the risk sits makes prevention much simpler. The steps below show what to do, in the order that gives the best protection.
Step 1: Protecting a Wooden Worktop Around the Sink
The sink area takes the most punishment, so it deserves the most attention. Get this section right and most of the problem goes away.
Wipe up splashes and standing water as soon as you see them. Do not let them dry on the surface, because dried water leaves rings and can lift the finish over time. A soft cloth and a little washing-up liquid are enough for routine cleaning.
Keep a sink mat or a folded tea towel under the bowl when you are washing up or filling pans. This stops water pooling where the timber meets the basin.
Sealing the Sink Joint and Tap Holes
The joint between the sink and the worktop is the most common point of water entry. Water that works into this gap soaks the wood from below, where you cannot see it.
Check the sealant around the sink rim and the tap holes every few months. For a step-by-step method, see how to seal worktop joints correctly. Look for cracks, gaps, or sealant that has gone yellow or lifted at the edges. Replace any damaged sealant with a silicone sealant suitable for kitchens. Use a bead, smooth it with a wet finger, and let it cure fully before using the sink.
Tap holes need the same attention. If water runs down a tap spout onto the timber, a tight seal around the base of the tap stops it reaching the cut-out edge.
Protecting Exposed End Grain
End grain is the cut end of the timber, where the wood fibres run vertically. It acts like a bundle of straws and sucks up water quickly. Leaving it unsealed is one of the most common mistakes in kitchens.
Seal any exposed end grain, including the cut-outs for the sink and hob and the ends of the board, with the same finish you use on the surface. Apply two thin coats, allowing drying time between them. Pay special attention to the back edge against the wall, where water from the splashback can run down unnoticed.
Step 2: Choosing a Suitable Protective Finish
The finish you choose decides how well your worktop resists water, and how much upkeep it will need. Not every finish suits every kitchen, so check what your worktop already has before you apply anything new.
Oil, varnish and lacquer compared
Oil finishes soak into the wood and keep it looking natural. To compare wooden worktops against other materials, see kitchen worktop materials compared. They need regular topping up, but they repair easily, a light sand and a fresh coat blends in. Varnish and lacquer finishes sit on top of the wood, giving a hard, water-resistant layer. They look glossy and last longer between treatments, but scratches can break the seal and let water in, and spot repairs are harder to disguise.
How often each finish needs attention
Timing depends on the product instructions and how heavily the worktop is used, so treat these as starting points rather than fixed rules:
- Oiled worktops: inspect monthly near the sink and tap, and re-oil when water stops beading and starts to darken the surface. In a busy kitchen this may be every few months; near a sink it can be more often.
- Varnished or lacquered worktops: check the sink rim, tap bases and front edge every few months for cracks, cloudiness or lifting. A sound film can last considerably longer between treatments, but any breach needs attention before water gets underneath.
- Waxed or hardwax-oiled worktops: follow the maker's schedule, and refresh worn patches rather than coating the whole surface unnecessarily.
Product compatibility and food safety
Read the manufacturer's instructions before you apply any product. Some finishes are not compatible with others, and mixing them can cause peeling or a patchy look. Oil will not bond properly over a varnish film, and a varnish will not adhere to an oily surface. If you are unsure what is on your worktop, test a small hidden area first, or sand back to bare timber before switching finish types.
For worktops near a sink or hob, choose a finish labelled as food-safe. This matters if you prepare food directly on the surface. Avoid mixing products from different systems unless the maker confirms they are compatible.
The table below sets out how each finish compares on upkeep and repairability, based on the points made in this section.
| Finish | Upkeep | Repairability |
|---|---|---|
| Oil | Regular topping up | Light sand and fresh coat blends in |
| Varnish or lacquer | Check every few months | Spot repairs harder to disguise |
| Waxed or hardwax-oiled | Follow maker's schedule | Refresh worn patches only |
Step 3: How to Oil a Wooden Worktop
Oiling is the simplest way to keep a wooden worktop water-resistant. It needs doing regularly, but the job takes less than an hour.
Start with a clean, completely dry worktop. Remove any crumbs, grease and residue with a damp cloth, then let it dry overnight. Use a food-safe mineral oil or a worktop oil made for kitchen timber.
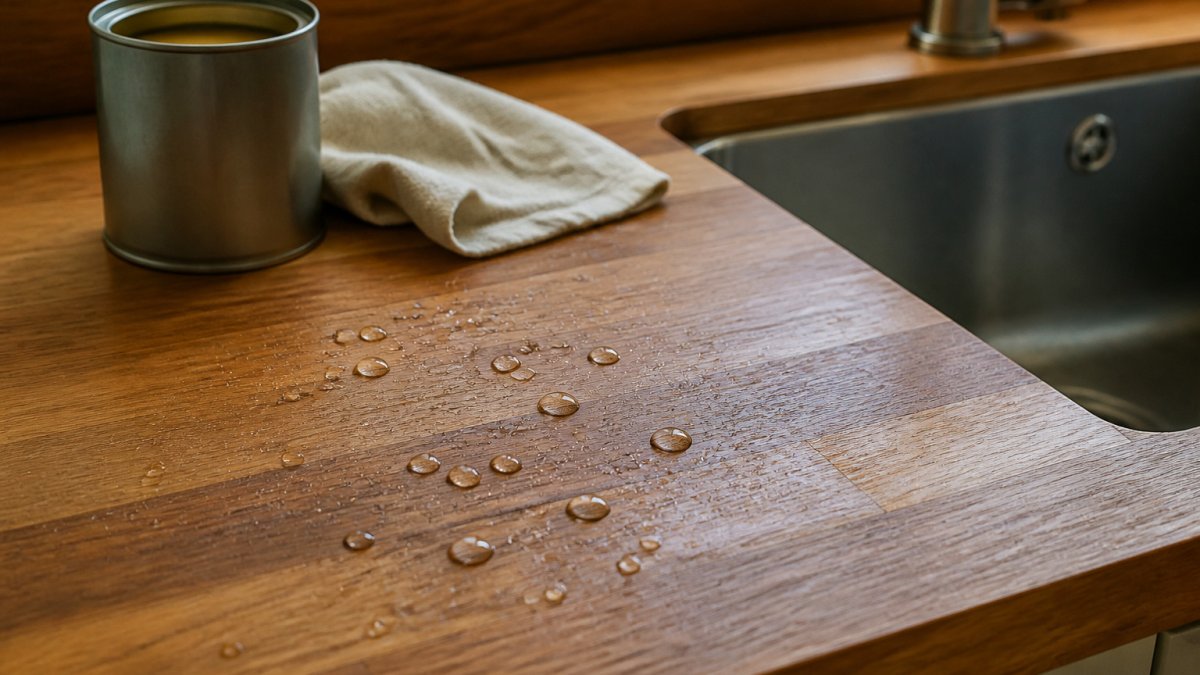
Apply a thin layer with a clean lint-free cloth, working along the grain. Leave it to soak in for 20 to 30 minutes, then wipe off any excess. Too much oil sits on the surface and turns sticky. Repeat with a second coat if the wood looks dry or pale.
Oil the sink area, the cut-outs and the end grain as well as the main surface. These spots dry out fastest and need the most protection. Most kitchens benefit from oiling every few months, and more often near the sink.
Step 4: Drying Wet Areas Promptly and Checking for Leaks
Speed matters. Wet timber left for hours is far more likely to swell or stain than timber dried quickly. But drying the top is only half the job, water that reaches the underside or the cut-outs does more damage, and it does it out of sight.
Drying after a spill or splash
After any spill or splash, dry the area with a clean cloth straight away, then leave the worktop open to the air rather than covering it. A damp, closed-off space slows drying and encourages mould (UK Health Security Agency). Pay particular attention to the sink rim, the tap bases and the front edge, where water collects.
If the wood has already darkened, dry it gently and let it settle for a day or two before sanding or oiling. Drying too fast with direct heat can cause checking and splits.
Surface splashes versus persistent leaks
A splash dries within minutes and leaves no trace once wiped. A leak keeps coming back. The tell-tale signs are a damp patch that reappears near the sink or tap, water staining on the cupboard floor, swollen chipboard or a musty smell under the sink. If you see any of these, treat it as a leak until proven otherwise.
What to check under the sink
Open the cupboard under the sink once a month and work through a short routine:
- Run your hand along the underside of the worktop around the sink cut-out and tap holes, feel for damp or softness.
- Check the pipe joints, trap and waste connections for drips or limescale trails.
- Look at the bottom of the sink and the seal around the waste for water tracking down.
- Check the cupboard floor and shelf for staining, swelling or a musty smell.
- Look at the back edge of the worktop where it meets the wall for water running down from the splashback.
When to call a plumber or a repair specialist
If you find an active leak, turn off the water supply at the isolation valve, fix or call a plumber, and dry the area thoroughly before deciding whether the worktop has been affected. Persistent damp that does not clear after the leak is fixed, soft or spongy timber, or swelling that has spread along a seam are signs the worktop itself needs assessment. Surface Magic Repairs can advise honestly on whether the affected area can be restored in place or whether replacement would be more durable.
Step 5: Recognising Early Signs of Water Damage
Spotting damage early makes it far easier to fix. Catch it while it is still a stain, and you may only need a light sanding and refinish.
Look for these warning signs:
- Dark or grey rings that do not wipe away
- Areas that feel soft or spongy when pressed
- Raised grain or fibres standing up on the surface
- Swelling along seams, the sink edge or the board ends
- Finish that looks cloudy, peeling or bubbled
- A musty smell coming from the cupboard beneath
Early stains are usually on the surface and can often be removed. Swelling, softness or dark staining that goes deep points to damage that needs more work.
Step 6: Removing Water Marks from Wooden Worktops
Light water marks are common and often fixable. Start with the gentlest method and move up only if needed.
Try this order:
- Rub gently along the grain with a soft cloth and a small amount of mineral oil. Many light rings lift this way.
- If the mark remains, use a fine abrasive pad, such as a grade 320 or 400 sanding pad, and work lightly along the grain.
- Wipe away all dust, then apply a fresh coat of oil or your chosen finish to the treated area.
Avoid harsh chemicals, bleach and wire brushes. They can strip the finish and damage the wood fibres, making future staining more likely. Test any product on a hidden corner first.
If the mark is dark, deep or spreads beneath the surface, simple cleaning will not remove it. Move on to the repair steps below.
Step 7: Repairing Water-Damaged Wooden Worktops
Deeper water damage needs more than a clean and a coat of oil. The right repair depends on how far the damage goes.
For surface staining, sand the affected area back to fresh timber, working along the grain, then refinish it. Feather the edges so the repaired patch blends into the surrounding wood. Sealing the repaired area carefully is essential, since it is the most vulnerable spot.
For swelling or small splits, the timber may need filling and sanding. A wood filler made for worktops can close small gaps, but it must be colour-matched and finished to match the surface. Poor matching often shows, which is why many people choose a professional repair.
For softness, rot or significant swelling, the damage may be too deep for a surface fix. You can read about professional worktop restoration costs before deciding. In these cases the timber may need to be replaced rather than repaired. Get advice before you start cutting or sanding, because the wrong approach can make the problem worse.
Surface Magic Repairs can assess damaged worktops and advise honestly on whether a repair is suitable. Send clear photographs of the damage, the full worktop and the surrounding area, together with your full address and postcode, so the team can provide a quotation or recommend replacement if that is the more durable option.
Booking Your Next Surface Inspection
Preventing water damage is far cheaper than repairing it, but when damage has already happened, a quick assessment makes the next step clear. If you are unsure whether your worktop can be saved, send us photographs of the affected area with your postcode. Call 0800 085 7773 or visit surfacemagicrepairs.co.uk to get started.
Frequently Asked Questions
How do I remove water marks from my kitchen worktops?
Start with the gentlest method. For fresh white rings on an oiled wooden worktop, rub the area lightly with a fine abrasive pad, such as a 0000 grade steel wool pad, following the grain. Wipe clean, dry thoroughly and then re-oil the spot to restore the finish. Dark, deep or spreading stains are different: they usually mean moisture has reached the wood itself, and these need a proper assessment rather than repeated scrubbing. Avoid harsh chemicals and soaking, as both can make the damage worse and leave the surface uneven.
How often should I oil a wooden worktop?
Most oiled wooden worktops benefit from a light coat of oil every few months, and more often around the sink, hob and any area that sees frequent splashes. Check the surface regularly. If water no longer beads on the wood or the grain looks dry and pale, it is time to re-oil. Always follow the manufacturer's instructions for your specific oil, as some finishes need different intervals. Wipe off any excess oil after 15 to 20 minutes so the surface does not become sticky.
What should I do if a wooden worktop gets wet?
Dry the area straight away. Wipe up standing water with a clean, dry cloth, then leave the worktop to air out fully. Do not leave a damp tea towel or a wet dish rack on the surface, as trapped moisture is what causes swelling and staining. If you spot a spill that has soaked into a joint or cut-out, check for any splitting or lifting once the wood is completely dry. Early action in the first hour makes a large difference to whether the wood can recover on its own.