Last Updated: 7 November 2026
Quick Summary
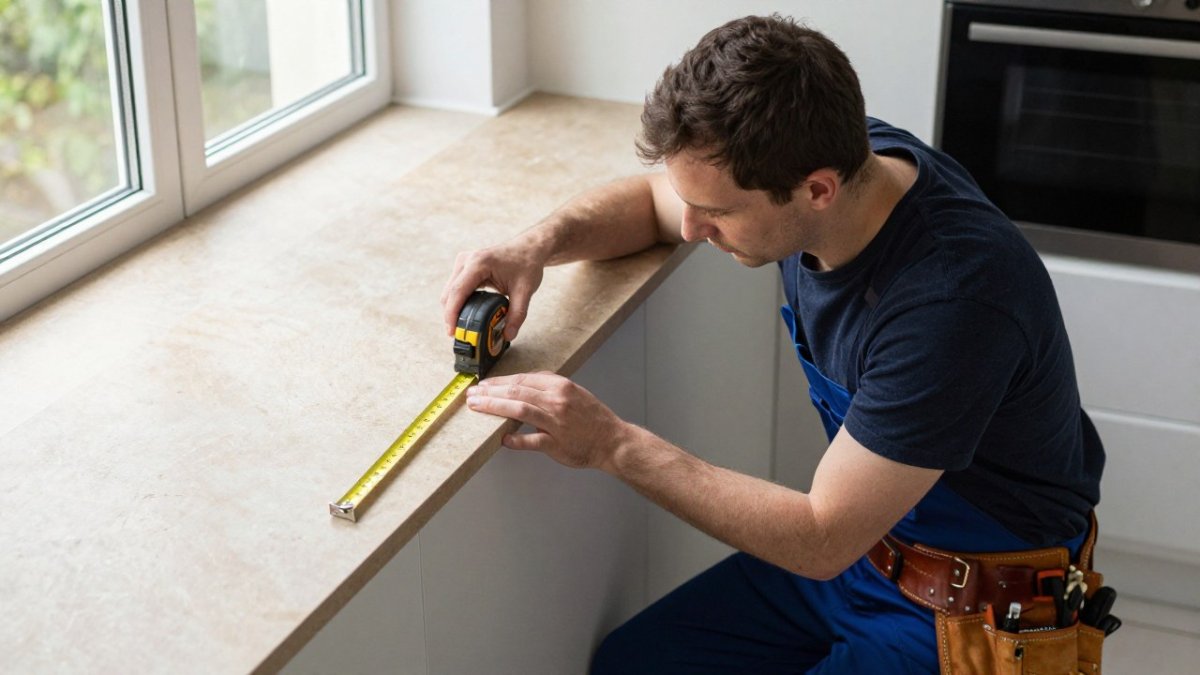
To learn how to measure a worktop around a window, record the finished worktop height, the sill height at three points, the sill depth and the clearance between them, then use the smallest figures. Measure the reveal width and depth at three points and always work in millimetres.
- Subtract the finished worktop height from the smallest sill height reading to find the clearance.
- A negative clearance means the worktop runs beneath the sill, limited by the sill depth.
- Measure reveal width at top, middle and bottom, and use the smallest width and depth.
- If readings spread by more than about 10mm across a reveal, use a physical template instead.
- Record every figure in millimetres and check corners with a 3-4-5 triangle.
Table of Contents
- Why Window Worktop Measurements Go Wrong
- How to Measure Kitchen Worktops: The Core Method
- Measuring a Worktop for a Window Sill
- Measuring an Uneven or Out-of-Square Window Reveal
- Worktop Overhang Measurement: Getting the Edge Right
- When to Use a Kitchen Worktop Template
- Common Measuring Mistakes and a Pre-Order Checklist
- From Measurements to Repair: Your Next Step
- Frequently Asked Questions
Why Window Worktop Measurements Go Wrong
Most worktop measuring errors happen at the window, not at the wall. A worktop that meets a window sill has to clear the sill, sit level with it, or pass beneath it, and each option needs a different measurement. Get that one figure wrong and the worktop arrives too deep, too shallow, or fouling the sill.
This guide from Surface Magic Repairs covers how to measure a worktop around a window properly, in millimetres, with the checks that catch mistakes before you order. The same measuring faults come up repeatedly on site.
A window opening is often not square, and the sill is often not level with the cabinets. Checking the back wall in at least three places and using the smallest figure keeps the top from coming out too long. The same logic applies to depth at a window.
Below, we show you exactly how to take each measurement, where to allow for overhang, and when a professional template is the safer route.
How to Measure Kitchen Worktops: The Core Method
How to measure kitchen worktops: sketch the layout, measure every run in millimetres, and record each figure against a named wall. Accuracy comes from the sketch, not the tape.
Start with a plan of the room. Draw each worktop run as a rectangle, label the walls, and mark the window, doors, sink, hob and sockets. Then measure.
Sketching the layout and recording in millimetres
- Draw the room shape and every worktop run
- Label each wall and corner
- Mark the window position, width and sill
- Note doors, sockets, switches, sink and hob
- Write every figure in millimetres, never centimetres
Millimetre precision matters. A 10mm slip at the window shows as a visible gap or an overhang that catches your hip.
Measuring each run and checking for square
Measure each run at the back wall, at the front edge, and at both ends. If the figures differ, the wall is out of square. Record the smallest length and note the difference.
Check the corner with a 3-4-5 triangle or a large square. A corner that reads 90 degrees on paper but 88 degrees on site will leave a wedge-shaped gap behind the worktop.
For a fuller walkthrough of the general method, see our guide on how to measure kitchen worktops for a perfect fit.
Measuring a Worktop for a Window Sill
Measuring a worktop for a window sill means recording four figures, sill depth, sill height above the cabinet, finished worktop height, and the clearance between them, then using those figures to decide whether the top runs beneath the sill, sits level with it, or stops short. All four matter. Get the clearance wrong and the worktop either fouls the sill nose or leaves a gap you cannot hide.
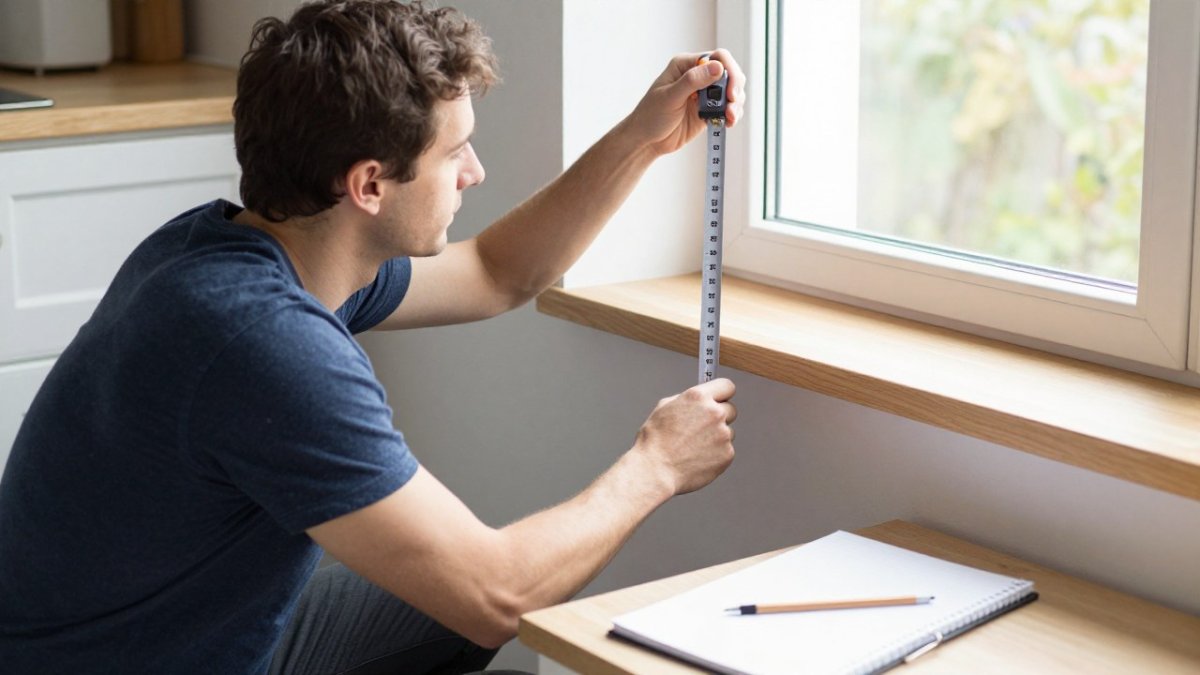
Work through these in order, writing each figure down before you take the next:
- Finished worktop height. Measure from the floor to the top of the existing worktop. If there is no worktop yet, measure from the floor to the top of the cabinet carcass, then add your worktop thickness. Confirm your own figures rather than assuming a standard height.
- Sill height. Measure from the floor to the top surface of the sill at three points: left, centre and right. Record all three, not the average.
- Sill depth. Measure from the wall face to the front nose of the sill. Take this at both ends of the sill as well as the middle, because older sills often taper.
- Clearance. Subtract the finished worktop height from the smallest sill height reading. That single figure decides the design.
Reading the clearance figure
The clearance tells you which of three situations you are in:
- Clearance is negative (the sill sits below the worktop line). The worktop can run beneath the sill, but the sill depth now limits how far back the top can go. Record the sill depth as your back limit.
- Clearance is close to zero (within a few millimetres). The worktop will meet the sill almost level. This is the fiddliest case, because any slope in the sill shows as a step. Note the smallest clearance and plan a scribe or a small upstand.
- Clearance is clearly positive (the sill sits well above the worktop line). The worktop stops at the wall beneath the sill, and the sill becomes a feature above it. Measure the sill depth anyway, in case a window board is planned.
A worked example makes this concrete. Suppose the floor-to-carcass height is 860mm, the worktop is 40mm thick, so the finished worktop height is 900mm. The sill reads 880mm at the left, 885mm in the middle and 875mm at the right. The smallest sill height is 875mm, so the clearance is 875 − 900 = −25mm. The sill sits 25mm below the worktop line, so the top runs beneath it. If the sill depth is 180mm, the worktop's back edge can sit no further back than 180mm from the wall face before it meets the sill nose.
Design to the smallest figure rather than the middle reading, as a small fall across a sill changes the clearance at one end.
Checking the reveal as well as the sill
The sill is only half the window story. Measure the depth from the wall face to the window frame, and the width of the reveal at both sides. A deep reveal may mean the worktop cannot reach the wall without fouling the frame, even when the sill clearance looks generous. Record the reveal depth alongside the sill depth so the two figures sit together on your sketch.
If the sill is timber and sound, it can often stay in place while the worktop is fitted around it. If the sill is chipped, split or stained, that is a separate decision from the measuring and one worth taking before you order.
Measuring an Uneven or Out-of-Square Window Reveal
An out-of-square reveal is the most common reason a window worktop fails to fit. The fix is not a better tape measure, it is a recording method that captures the worst case at every point, so the worktop is cut to the smallest opening rather than the average one.
Measure the reveal width at the top, middle and bottom, and the depth at both sides. Write all six figures down. Then apply the rule that matters: use the smallest width and the smallest depth. A worktop cut to the average will bind at the tight point; one cut to the smallest figure will fit everywhere and leave a gap you can scribe or fill.
Recording conflicting readings
When the readings disagree, do not average them. Record the spread instead. A reveal that reads 1200mm at the top, 1194mm in the middle and 1188mm at the bottom is 12mm out of square over its height. That 12mm is the figure a fitter needs, because it tells them how much scribe or filler the job will take.
A simple recording method keeps this manageable:
- Note each reading against its position (top, middle, bottom, left side, right side)
- Circle the smallest width and the smallest depth
- Write the difference between largest and smallest beside each pair
- Sketch the reveal as a trapezium rather than a rectangle if the spread is more than a few millimetres
Then check the reveal against the worktop line. If the wall bows inward at the window, the worktop will need a scribe or a filler. Run a straight edge across the wall face and measure the maximum gap with a tape, noting it in millimetres. A bow of 3mm to 5mm is common in older plaster and usually hides behind a scribe. A bow of 15mm or more changes the job.
Three checks that catch most problems
- Run a spirit level across the sill and note any fall, in millimetres over the sill length
- Check both reveal sides are parallel by measuring the width at top and bottom and comparing
- Confirm the window frame is set back from the wall face by at least the worktop thickness, or the top will foul the frame before it reaches the wall
Tolerances and when to stop measuring
Worktop fitting tolerances vary, and a window return usually needs more care than a straight run. If your readings spread by more than about 10mm across a reveal, a sketch is no longer the right tool. At that point a physical template, a thin ply or hardboard pattern cut on site to the exact opening, is the safer route, because it captures the shape without you having to reconcile the numbers.
The same applies to stone and quartz worktops. These are templated on site by the fabricator rather than cut from a sketch, because the material cannot be adjusted once cut. If you are ordering a stone top around a window, expect a templating visit and treat your own measurements as a cross-check rather than the final word.
Watch out: a reveal that reads square on the drawing but 2 or 3 degrees out on site will leave a wedge-shaped gap behind the worktop that no amount of sealant hides cleanly, record the angle, not just the lengths.
If the reveal is badly out, a template is safer than a sketch. A template removes much of the guesswork from a job where the window is the hardest part.
Worktop Overhang Measurement: Getting the Edge Right
Worktop overhang measurement is the distance the top projects past the cabinet front. Confirm the overhang figure for your units and appliances before ordering.
At a window, overhang matters in two directions. The front overhang stays consistent along the run. The back edge must meet the wall or sill without a gap.
Measure the cabinet depth, then add your chosen overhang. If the worktop passes beneath a sill, the sill depth sets the back limit, so the usable worktop depth shrinks. Record both figures.
Watch out: an overhang that grows past the cabinet end at a window return will foul the reveal or the sill nose. Check the end overhang against the reveal depth before you commit.
When to Use a Kitchen Worktop Template
A kitchen worktop template is a physical or digital pattern of the exact worktop shape, taken on site. Use one when the window reveal is out of square, the wall bows, the sill slopes, or the worktop needs a cut-out around a frame.
Templates remove much of the guesswork. For a complex window return, that can be worth it.
You may also need one when:
- The worktop meets a bay or angled window
- The sill sits at an awkward height
- The run includes a sink or hob close to the window
- The property is older and nothing reads square
If you plan to seek a professional quote or template, read our guide on how to prepare photos for a repair quote so the assessment is accurate first time.
Common Measuring Mistakes and a Pre-Order Checklist
The same faults come up repeatedly. Here is what to avoid, and what to check before you order.
| Mistake | Why it happens | The fix |
|---|---|---|
| Measuring in centimetres | Mixed units on the sketch | Record everything in millimetres |
| One depth reading at the window | Sill slopes or bows | Take three readings, use the smallest |
| Ignoring the reveal | Assumed the wall is flat | Measure reveal width and depth |
| Forgetting overhang | Measured cabinets only | Add front overhang, check end overhang |
| No square check | Trusted the drawing | Test corners with a 3-4-5 triangle |
| Skipping the sill height | Focused on length | Record sill height and clearance |
Run this checklist before ordering:
- Sketch complete, every run labelled
- All figures in millimetres
- Smallest length and depth recorded
- Sill height, sill depth and clearance noted
- Reveal width and depth measured at three points
- Overhang confirmed front and end
- Square checked at every corner
- Photos taken of the window area
From Measurements to Repair: Your Next Step
Measuring tells you the shape. It also tells you whether the existing worktop is worth keeping. Chips, burns and scratches found during measuring are often repairable in place, which avoids a full replacement and the strip-out that comes with it.
If the worktop is sound but marked, our guide on kitchen worktop repair for chips, burns and scratches explains what can be restored. If you are weighing up the decision, read is repairing kitchen worktops worth it for a straight answer. And if replacement is the only sensible route, our step-by-step worktop replacement guide covers what happens next.
Surface Magic Repairs repairs suitable worktops in place, with colour and finish matched to the surrounding surface. Suitability depends on the material, condition and extent of the damage, and we will say honestly if replacement would be more durable.
Send clear photographs of the damage, the complete item and the surrounding area, together with your full address and postcode. Surface Magic Repairs can assess whether a repair is suitable and provide a quotation. Call 0800 085 7773 or visit surfacemagicrepairs.co.uk.
A worktop that fits properly starts with honest measurements and an honest look at the surface you already have. If measuring has turned up chips, burns or scratches, Surface Magic Repairs can assess whether a repair in place, with colour and finish matched to the existing surface, is suitable. Repairs are completed without strip-out. The company works with domestic and commercial clients, to find out whether a repair is a better answer than a replacement.
Frequently Asked Questions
Should a worktop go under or up to a window sill?
It depends on the sill height and how the window is set. If the sill sits above the finished worktop height, the worktop usually runs up to the wall beneath it. If the sill is low, the worktop may need to pass beneath it, which means checking clearance carefully. Measure the sill height from the floor, the sill depth and the window reveal before deciding. An uneven reveal or low sill can change the whole layout, so record all three figures in millimetres.
How much clearance should there be between a worktop and a window?
There is no single figure that suits every window, so measure the actual gap rather than assuming one. Check that the worktop does not foul the window opening, the sill or any handles when the window is opened. Allow enough clearance for the finished worktop height plus any upstand. If the gap looks tight, note it on your sketch and flag it when you request a quote, because a low clearance may affect whether a repair or replacement is the sensible option.
How do you measure a worktop when the wall is not square?
Measure the back wall in at least three locations and use the smallest measurement, so the worktop is not cut too long. Do the same for the depth at both ends of the run. Record every figure in millimetres on a simple sketch, marking corners, the window position and any permanent fixtures. Out-of-square walls are common in older properties, and a kitchen worktop template is often the safest route when the deviation is significant.
Can a worktop be fitted higher than a window sill?
A worktop can sit above a low sill, but that changes how the window is used and how the sill is finished. Check the finished worktop height against the sill height and the window opening before committing. If the worktop would cover part of the sill or restrict the window, note it clearly. Send photographs and your postcode so suitability can be checked.