Quick Summary
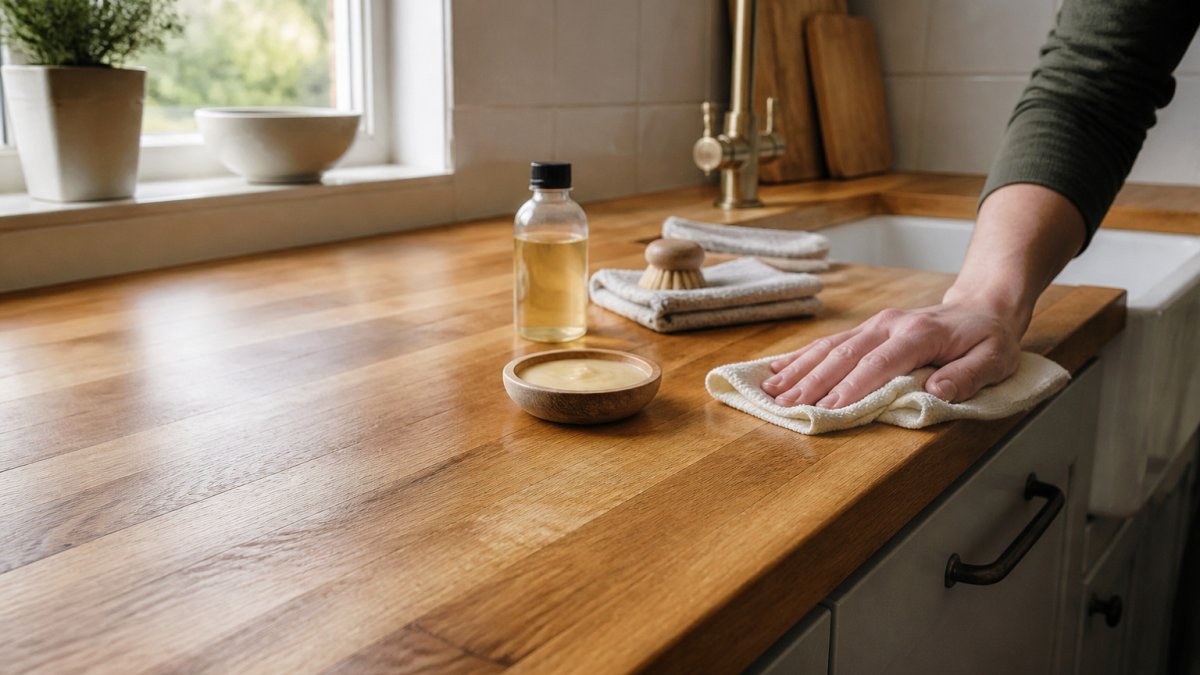
Maintaining solid wood worktops in the in the UK mainly means oiling the surface regularly, usually every three to six months in a busy kitchen, and wiping up spills straight away. Use thin coats of food-safe worktop oil, and check the surface with the water-drop test to decide when it needs attention.
- Oil oiled worktops every three to six months in a busy kitchen, more often in the first year.
- Apply thin coats of oil and wipe off all excess within 20 to 30 minutes.
- Do not oil lacquered worktops; clean them with a damp cloth and dry immediately.
- Use the water-drop test: if water soaks in and darkens the wood, the worktop needs oiling.
- Clean up spills straight away and use trivets under hot pans to protect the surface.
Table of Contents
- Why Solid Wood Worktops Need Regular Care
- What You Will Need Before You Start
- How to Oil Wooden Worktops Step by Step
- How Often to Oil a Wooden Worktop
- Why Is My Worktop Sticky After Oiling?
- Daily Cleaning and Protecting Against Water and Heat
- Repairing Scratches and Burns on Wooden Worktops
- Removing Water Marks and Stains
- Booking Professional Help for Damaged Worktops
- Frequently Asked Questions
9 Steps to Maintain Solid Wood Worktops in the UK
Last Updated: October 29, 2026
Why Solid Wood Worktops Need Regular Care
Solid wood worktops are a popular choice in UK kitchens because they look warm and natural. They generally need more attention than laminate or stone. Without regular care, wood can dry out, take on water marks and show wear faster.
Here is the short answer: solid wood worktops need regular oiling, quick clean-ups after spills and careful handling of heat and sharp objects. A good routine protects the surface and makes it last far longer.
Keeping solid wood worktops in good condition across the UK is mostly about consistency. Small, regular tasks prevent the larger repairs that cost time and money.
Common mistakes to avoid:
- Leaving spills to sit, especially around the sink and hob
- Using harsh cleaners that strip the protective finish
- Waiting until the wood looks dry before oiling it
What You Will Need Before You Start
Gather the right supplies before you touch the surface. The job goes faster and the finish looks better.
- A food-safe worktop oil designed for wood
- Two or three lint-free cloths
- A soft sanding pad (fine grit, around 240-grit)
- A bucket of warm water with a little washing-up liquid
- A dry towel for wiping up spills
Check the product label before you buy. Some oils suit only certain wood types, and the label will say whether it is food safe. Work in a well-ventilated room, and keep the kitchen clear of food while the oil dries.
How to Oil Wooden Worktops Step by Step
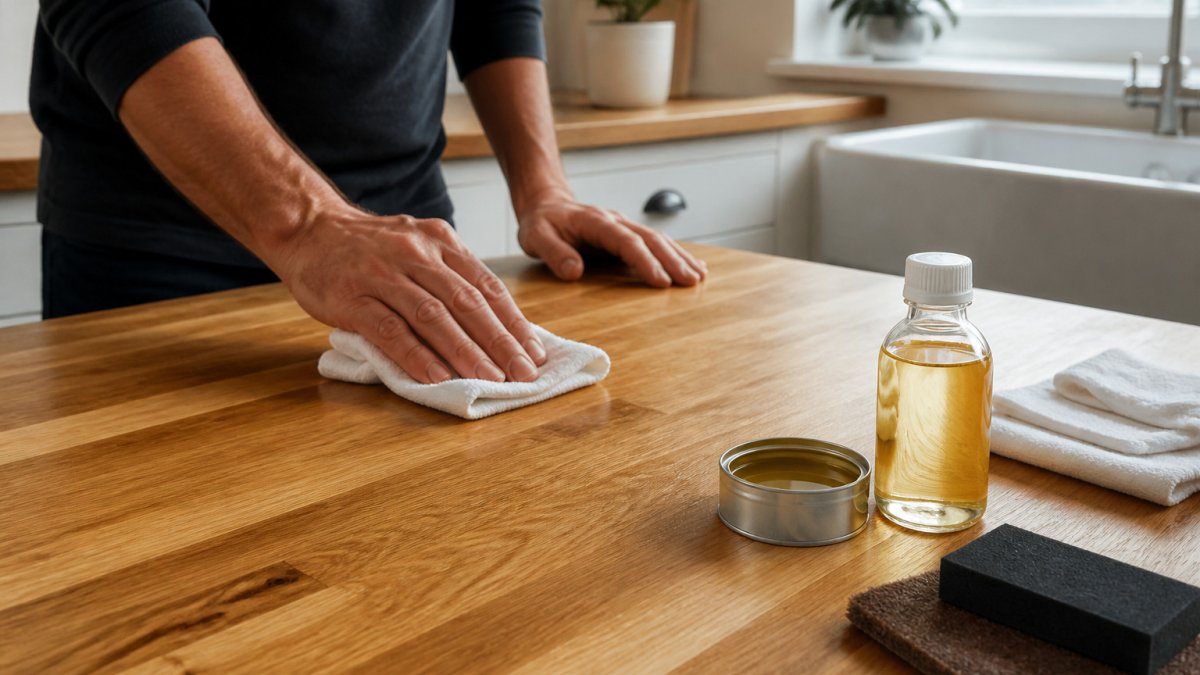
Oiling is the core of solid wood worktop care. It builds a protective layer that helps repel water and stains. Follow these steps for an even finish.
- Clean the surface. Wipe the worktop with warm, soapy water and dry it fully. Let it dry for at least an hour.
- Light sand if needed. If the surface feels rough or looks dull, rub it gently with fine sandpaper along the grain.
- Wipe off dust. Use a dry cloth to remove all sanding dust.
- Apply a thin coat of oil. Pour a small amount onto a cloth and spread it evenly along the grain.
- Let it soak in. Leave the oil for around 20 to 30 minutes so the wood can absorb it.
- Wipe off the excess. Buff away any oil that sits on the surface. Leftover oil is the main cause of a sticky finish.
- Add a second coat if needed. Most worktops need two or three thin coats for good protection.
- Allow proper drying time. Follow the product instructions, which often mean leaving the surface alone for 24 hours.
Thin coats work better than thick ones. Too much oil takes longer to dry and can leave a tacky feel.
The article sets out the oiling process in eight steps, with the key timings summarised below.
| Step | What to do | Time or frequency |
|---|---|---|
| Clean the surface | Wipe with warm, soapy water and dry fully | At least 1 hour to dry |
| Light sand if needed | Rub gently with fine sandpaper along the grain | As needed |
| Wipe off dust | Remove all sanding dust with a dry cloth | Before oiling |
| Apply thin coat | Spread oil evenly along the grain | Thin coat |
| Let it soak in | Leave the oil to absorb | 20 to 30 minutes |
| Wipe off excess | Buff away oil left on the surface | Before it sets |
| Add second coat | Apply further thin coats if needed | Two or three coats typical |
| Allow drying | Follow product instructions | Often 24 hours |
How Often to Oil a Wooden Worktop
There is no single answer that suits every kitchen. The right oiling schedule depends on the finish, the timber, how the worktop is used and the time of year. Most practitioners find that a little observation beats a rigid calendar.
Start with the finish you have
Solid wood worktops are usually supplied oiled, lacquered or unfinished. Each needs a different approach.
- Oiled worktops are the most common. They need re-oiling every three to six months in a busy kitchen, and more often in the first year while the wood settles. The water-drop test is your guide.
- Lacquered worktops have a film finish. Do not oil them. Clean with a damp cloth and mild washing-up liquid, dry immediately, and watch for chips or worn patches around the sink and edges. Once the lacquer breaks down, water can get in quickly.
- Unfinished worktops need several thin coats of oil before first use, then frequent topping up until the surface stops absorbing oil readily. After that, treat them like an oiled worktop.
If you are unsure which finish you have, wipe a small hidden area with a cloth dampened with white spirit. A lacquered surface will stay largely unchanged; an oiled one will look duller and may darken slightly.
The first few weeks after installation
New worktops are thirsty. A common pattern is to oil both sides and all edges before installation, then apply a fresh thin coat every few days for the first two to three weeks, wiping off all excess within 20 to 30 minutes. After that, drop to monthly for the first six months, then move to the routine schedule.
Do not flood the wood. Thin coats applied more often give better protection than one thick coat that stays tacky.
Ongoing schedule by use and location
- Family kitchen with a sink and hob: check monthly with the water-drop test; re-oil every three to four months.
- Second home or low-use kitchen: every six months is often enough, but check after long empty periods because indoor heating can dry the wood.
- Worktop around a sink, tap or dishwasher: these areas dry out and take on water faster. Inspect them every few weeks and spot-oil worn patches.
- Worktop near a cooker or range: heat draws moisture out of the wood. Keep an eye on the area and re-oil when it looks pale or dull.
Seasonal adjustments
Central heating in winter lowers indoor humidity, and wood loses moisture and can shrink slightly. You may notice small gaps at joints or a duller surface. A light re-oil in late autumn helps. In summer, open windows and warmer air can raise humidity; wipe up condensation and avoid leaving wet cloths on the surface. Sudden changes in humidity are more damaging than steady conditions, so try to keep the kitchen evenly heated and ventilated.
The water-drop test
Place a few drops of water on the surface and wait about ten minutes. If the water beads up, protection is still good. If it soaks in and darkens the wood, the finish is worn and the worktop needs oiling. Test several areas, not just the middle, because the sink and hob areas wear first.
If you are unsure whether an older worktop is worth keeping, read our guide on is it worth resurfacing old kitchen worktops.
Why Is My Worktop Sticky After Oiling?
A sticky finish is almost always caused by too much oil. The surplus has not been wiped away, so it stays tacky on top of the wood.
To fix it:
- Wipe the surface with a cloth lightly dampened with a little white spirit or the product's recommended cleaner
- Buff the area dry with a clean, lint-free cloth
- Apply the next coat more thinly and wipe off the excess within 15 to 20 minutes
Cold or humid rooms can also slow drying. Keep the kitchen warm and well ventilated while the oil sets.
Daily Cleaning and Protecting Against Water and Heat
Daily habits do much of the protecting. Clean up spills straight away, especially water, wine and fruit juice. Wipe the surface with a soft cloth and warm, soapy water, then dry it thoroughly.
Avoid standing water. Never leave a wet dishcloth or a bowl of water on the worktop for long.
Protect the surface from heat as well. Use trivets or heat-resistant mats under hot pans, kettles and slow cookers.
Common mistakes to avoid:
- Using abrasive scourers on the wood
- Cutting directly on the surface instead of using a chopping board
- Leaving the worktop wet overnight
Checking the worktop each week for signs of wear, especially near the sink and cooker, makes it easier to catch problems early.
Repairing Scratches and Burns on Wooden Worktops
Light scratches can often be sanded out and re-oiled. Sand gently along the grain with fine sandpaper, wipe away the dust, then apply oil to the sanded area and blend it into the surrounding finish.
Burns are harder. A shallow mark may sand out, but a deep burn often needs the damaged wood removed and replaced or refinished by a specialist. Trying to fix a deep burn with heavy sanding can thin the worktop and create an uneven patch.
For larger or deeper damage, a professional can often restore the surface without full replacement. Guidance on professional worktop restoration costs and processes explains what to expect. Our team at Surface Magic Repairs also offers professional restoration. You can read about the cost and process in our guide to professional kitchen worktop restoration.
Removing Water Marks and Stains
Water marks and stains are among the most common reasons people think a solid wood worktop is ruined. In many cases it can be improved or removed without replacement, provided you identify what kind of mark you are dealing with and act before it goes deep.
Identify the mark first
- White or pale rings and patches usually sit in the oil or wax finish rather than in the wood itself. They are the easiest to fix.
- Dark patches or black spots mean water has penetrated the grain. These need more work and sometimes professional attention.
- Heat marks from hot pans often look like pale or white patches but are caused by heat rather than water. Treat them like white water marks first.
- Stains from wine, tea, fruit juice or oil can discolour the wood. Some lift with gentle cleaning; others need light sanding.
White water marks: step by step
- Wipe the area dry with a soft cloth.
- Rub lightly along the grain with a fine abrasive pad or a cloth and a small amount of fine abrasive, such as a specialist wood restorer. Do not scrub hard.
- Wipe away the residue with a clean, dry cloth.
- Apply a thin coat of food-safe worktop oil to the area and blend it into the surrounding finish. Wipe off any excess after 20 to 30 minutes.
If the mark persists after two or three gentle attempts, stop. Over-rubbing can dull the finish and change the colour.
Dark stains: step by step
- Clean the area with warm, soapy water and dry it fully.
- Sand the affected spot carefully along the grain with fine sandpaper (around 240-grit). Stop as soon as the stain lifts, because sanding too far changes the colour and shape of the wood.
- Wipe away all dust with a dry cloth.
- Apply oil in thin coats, allowing each coat to soak in and wiping off excess. Two or three thin coats are usually better than one thick one.
- Leave the surface to cure according to the product instructions before using it normally.
If the stain is deep or covers a large area, a professional can often restore the surface without full replacement. Suitability depends on the depth, the timber and the finish.
Heat marks and burns
Shallow heat marks often respond to the same gentle rubbing and re-oiling as white water marks. A deep burn that has charred the wood usually needs the damaged area removed and refinished by a specialist. Heavy sanding to remove a deep burn can thin the worktop and leave an uneven patch.
Preventing marks around sinks, taps and joints
Joints and edges are where water usually gets in. Check these areas often, wipe up spills immediately, and keep the area around the sink and tap dry. Sealing joints properly helps stop water getting underneath. Our guide on how to seal kitchen worktop joints properly covers this step.
When to call a professional
Some damage is beyond a home fix: deep burns, large dark stains, swollen edges or boards that have warped. Before deciding between repair and replacement, consider the age of the worktop, how deep the damage goes and the cost of a new surface. Our guide on whether repairing kitchen worktops is worth it explains how to weigh these factors.
If you would like an honest assessment, send clear photographs of the damage, the full worktop and the surrounding area, together with your full address and postcode. Call 0800 085 7773 or visit surfacemagicrepairs.co.uk.
Booking Professional Help for Damaged Worktops
Some damage is beyond a home fix. Deep burns, large dark stains, swollen edges or boards that have warped usually need a professional assessment.
Before you decide between repair and replacement, consider the age of the worktop, how deep the damage goes and the cost of a new surface. Our guide on whether repairing kitchen worktops is worth it explains how to weigh these factors.
If you have decided to book help, a fast, local repair service can save time. You can find out more about bath repair near me and fast local fixes. For a quote, send clear photographs of the damage, the full worktop and the surrounding area, together with your full address and postcode. Call 0800 085 7773 or visit surfacemagicrepairs.co.uk.
Frequently Asked Questions
How often should you oil a wooden worktop?
Most solid wood worktops need a fresh coat of oil every three to six months. Worktops in heavy daily use, such as those beside a sink, may need attention more often. A simple water-drop test helps you decide. Place a few drops of water on the surface and leave them for a few minutes. If the wood darkens quickly or the water soaks in, the finish is worn and the worktop is ready for another coat. Check the manufacturer's instructions for your specific oil, as drying times and recoat intervals vary.
Why is my worktop sticky after oiling?
A sticky finish usually means too much oil was applied or the excess was not wiped away. Oil that sits on the surface does not cure properly and stays tacky. To fix it, wipe the area with a clean, lint-free cloth dampened with a little white spirit or the oil manufacturer's recommended cleaner, then buff the surface dry. Apply the next coat in thin layers and allow adequate drying time between coats. Keep the room well ventilated while the oil cures.
Can scratches and burns be repaired on a solid wood worktop?
Light scratches usually respond to a light sanding with fine abrasive paper, followed by re-oiling the area. Burns are more difficult. Shallow surface marks can sometimes be sanded out, but deep scorching may need a more substantial repair. Where damage is extensive, or the worktop is valuable, a professional assessment will tell you whether repair is suitable or replacement would be more durable. Where suitable, customers can send photographs for an honest assessment.