
Table of Contents
- Why a Professional Snagging Inspection Beats a Quick Walk-Through
- When to Do a Snagging Inspection: Timing That Protects Your Position
- What to Check in a New-Build Home: Room-by-Room Priorities
- Building a New-Build Snagging Checklist That Stands Up
- How to Report Snags to a Housebuilder Without Delays
- Photographs and Records: The Evidence That Gets Snags Fixed
- Cosmetic Snags: What Can Be Repaired Rather Than Replaced
- Common Mistakes Homeowners Make During a Snagging Inspection
- After the Inspection: Getting Snags Resolved and Signed Off
- Frequently Asked Questions
Last Updated: 6 October 2026
Why a Professional Snagging Inspection Beats a Quick Walk-Through
A professional snagging inspection is a systematic, independent review of a new-build property that identifies defects, incomplete work and poor finishes before the buyer's legal protection runs out. Most homeowners walk through a new home once, spot the obvious marks, and miss the rest. That is the gap a proper inspection closes. This guide sets out what to check, when to act and how to get snags fixed.
The timing matters more than most buyers realise. The New Homes Quality Board guidance on snagging recommends that quality checks are carried out by someone not directly involved in the construction, because the people who built the property are not well placed to find its faults.
Surface Magic Repairs repairs cosmetic damage on new-build handovers every week, from chipped worktops to scratched uPVC frames. We see the same pattern repeatedly: snags reported early and in writing get resolved, while vague verbal complaints drag on for months.
Below, we explain exactly how to run a snagging inspection that holds up, room by room.
When to Do a Snagging Inspection: Timing That Protects Your Position
The best time to carry out a snagging inspection is before you legally complete, during your pre-completion visit. A second inspection in the first few weeks after moving in catches defects that only appear once the heating, plumbing and appliances are in daily use.
Your developer must give you a pre-completion inspection before completion, and the Pre-Completion Inspection Checklist sets out what that visit should cover. Use it. Take your time, and do not let anyone rush you through the property.
There are three windows worth knowing:
- Pre-completion visit: your strongest position. The developer still wants the sale to complete.
- First 14 days after legal completion: the period most developers set for reporting snags under their customer care procedure.
- Months 1 to 24: the structural warranty period, usually through the NHBC or a similar provider, covers bigger defects rather than cosmetic ones.
What to Check in a New-Build Home: Room-by-Room Priorities
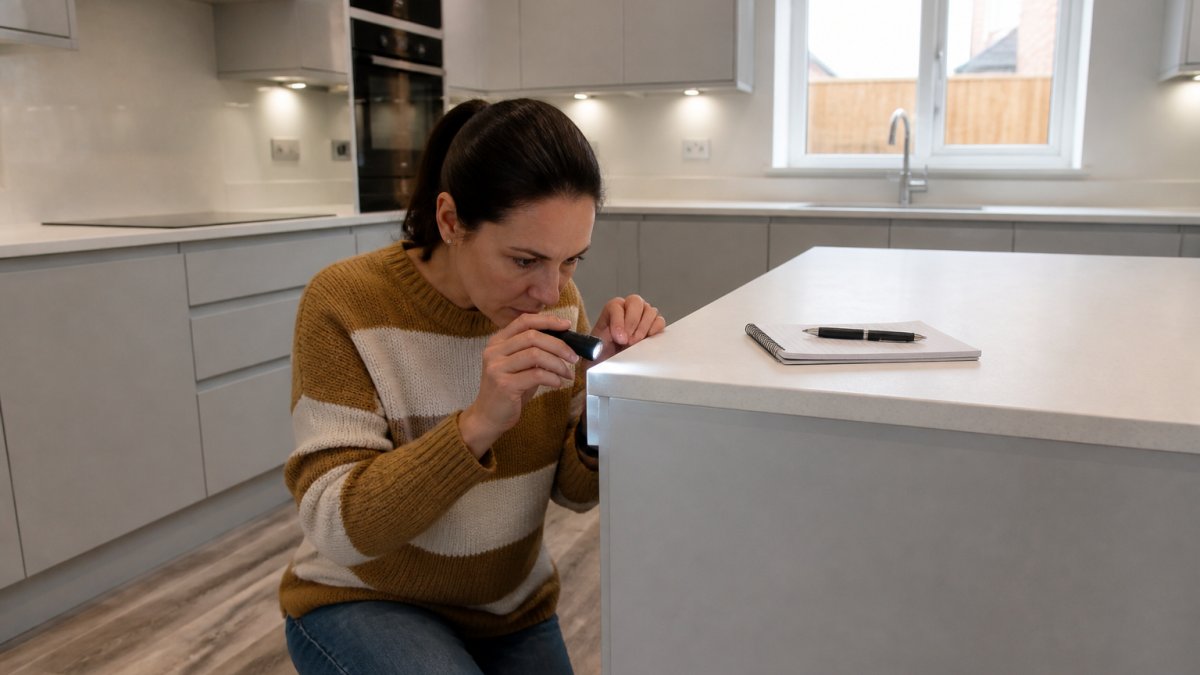
Work through the property in a fixed order so nothing gets skipped. Start with the rooms you use most, then move to the fabric of the building. Photograph every defect as you find it.
Bathrooms, Kitchens and Utility Areas
These rooms carry the highest density of cosmetic snags, and they are the ones buyers notice first.
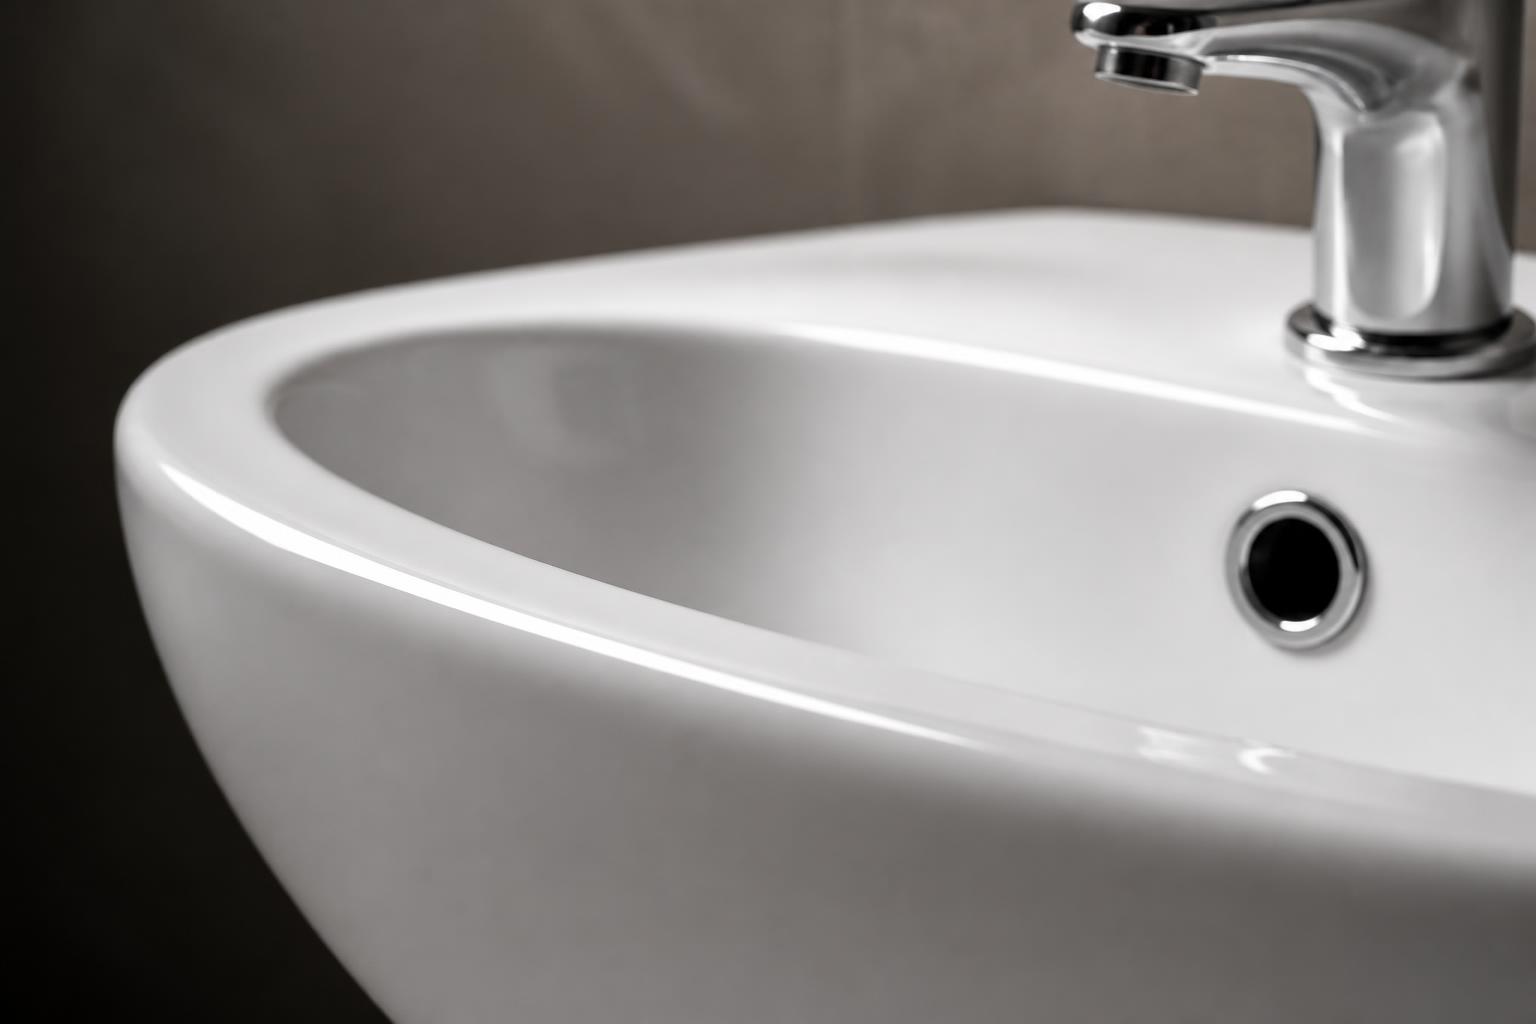
Check baths and shower trays for chips, cracks and scratches, especially around the waste and overflow. Look at the sealant line for gaps or mould. Run the taps and check the flow. Open every kitchen unit door and drawer, and inspect worktop edges for chips and burns. Utility areas are often finished last and rushed.
Surface Magic Repairs handles bath chip and crack repairs, shower tray repairs, sink and sanitaryware repairs, and worktop repairs on site, colour matched to the surrounding surface. Suitability always depends on the material, the extent of the damage and its location, and we will say so honestly if replacement makes more sense.
Windows, Doors and Joinery
Scratched uPVC frames and poorly fitted doors are among the most frequently reported snags. The Which? guide to new-build snagging checks advises testing plug sockets and checking that sockets and light switches are correctly fitted and undamaged.
Open and close every window and door. Check the handles, hinges and locks. Look for scratches on frames and sills, and for gaps in the sealant around the frame. Check internal doors for chips, poor paint finish and catching on the frame.
Walls, Floors, Stairs and Loft Space
Cosmetic wall and floor defects are easy to miss under fresh paint and good lighting. Walk each room at different times of day, because natural light from a window will reveal uneven plaster and filler that overhead light hides.
Run a hand along skirting boards and architraves. Check for dents in the plasterboard, scuffed corners and uneven paint edges. On stairs, check the handrail fixings and look for creaks or movement. In the loft, check the insulation is laid evenly and that the roof space is dry.
Building a New-Build Snagging Checklist That Stands Up
A useful new-build snagging checklist is organised by room, records the location and type of each defect, and includes a photograph for every entry. A list of vague complaints will not get results.
Use a simple structure and keep it consistent:
| Snag type | Where to look | What to record | Likely outcome |
|---|---|---|---|
| Chips and scratches | Baths, trays, worktops, tiles, uPVC | Close-up photo plus wider shot | Often repairable in place |
| Cracks | Sealant lines, plaster, tiles | Position, length, direction | Repairable or resealed |
| Poor finish | Paintwork, joinery, flooring | Photo in daylight | Redecoration |
| Fitting faults | Doors, windows, sockets | Photo plus written description | Adjustment or replacement |
| Missing items | Handles, seals, trims | Item and location | Supply and fit |
How to Report Snags to a Housebuilder Without Delays
Report snags to your housebuilder in writing, as a single numbered list, with photographs attached and a clear deadline for a response. Send it by email so you have a dated record, and keep a copy.
The guidance on choosing a snagging company and reporting defects recommends sending the snag list to the developer in writing and retaining your own copy. Do both.
A short covering note works well:
Dear [customer care team],
Please find attached my snagging list for [property address], dated [date]. It contains [number] items, each with a photograph and a location reference. Please confirm receipt and provide a timescale for each item. I would be grateful for a written response by [date].
Keep the tone factual. Emotional complaints get deprioritised; a clear, dated list is hard to ignore.
Photographs and Records: The Evidence That Gets Snags Fixed
Good photographs are the difference between a snag that gets fixed and one that gets argued about. Take two shots of every defect: one close-up showing the damage clearly, and one wider shot showing where it sits in the room.
Photographic records of faults, ideally with clear descriptions, are widely recommended for snagging reports, and PlanRadar's guidance on snagging surveys makes the same point: a report without evidence is easy to dispute.
A few practical rules:
- Use natural daylight where you can, and avoid harsh flash on reflective surfaces
- Place a coin or a tape measure beside the defect to show scale
- Photograph the whole item, not just the damaged area
- Keep the original files, with dates, in a dedicated folder
This is also exactly what we ask for when quoting a repair. Send clear photographs of the damage, the complete item and the surrounding area, together with your full address and postcode, and we can assess suitability and provide a quotation.
Cosmetic Snags: What Can Be Repaired Rather Than Replaced
Many cosmetic snags do not need the fixture removed at all. Chips, scratches, burns, cracks and impact damage to hard surfaces can often be repaired in place, with the repaired area colour matched and refinished to blend with the surrounding surface.
This is where the repair-versus-replace decision should be made honestly. Suitability depends on the material, the condition, the location and the extent of the damage. A shallow chip on a worktop edge is usually straightforward. A deep crack through a structural tile, or damage in a high-wear area, may be better replaced.
Repairing rather than replacing keeps the existing surface intact, avoids knock-on decorating and tiling work, and produces far less waste. Surface Magic Repairs has repaired more than 46,000 surfaces in the last year, and the team brings over 25 years of combined trade experience to assessment and finish matching.
We never claim a repair will be completely invisible. Results vary with the material, finish, damage and surrounding pattern. What we do promise is an honest assessment before any work is booked.
Common Mistakes Homeowners Make During a Snagging Inspection
The most damaging mistakes are procedural, not technical. They are about how the inspection is run, not what is looked at.
- Rushing the visit. Two hours is not enough for a three-bedroom house. Book a full morning.
- Only looking at eye level. Chips on worktop edges, scuffs on skirting and marks above door frames get missed.
- Reporting snags verbally. Nothing in writing means nothing to point to later.
- Accepting "that's within tolerance" without asking for it in writing. Ask which standard applies and where it is documented.
- Leaving it too late. Once the reporting window closes, cosmetic snags become your problem, not the developer's.
- Not checking the loft, garage and external areas. These are commonly overlooked, yet they form part of the property.
After the Inspection: Getting Snags Resolved and Signed Off
Chase every item until it is resolved and confirmed in writing. Keep a simple tracker: snag number, date reported, response received, date resolved, and a photograph of the finished work.
If a snag is repaired rather than replaced, inspect the finished area in daylight before signing anything off. Check the colour match and the texture against the surrounding surface. If it is not right, say so before you sign.
For developers and customer-care teams, a planned surface-repair programme across a development is usually quicker than booking individual trades for each unit. Surface Magic Repairs works alongside site managers and customer-care departments on new-build snagging and handover repairs, with repairs completed in place and no strip-out required.
New-build snags are far easier to resolve before the reporting window closes, and cosmetic damage rarely needs a full replacement. Surface Magic Repairs repairs chipped baths, cracked shower trays, scratched worktops, damaged uPVC frames and much more, all completed on site with colour and finish matched to the existing surface. We offer honest assessments, minimal disruption and a quotation based on photographs of the damage. Send your photos, address and postcode to info@surfacemagicrepairs.com or call 0800 085 7773, and get started with Surface Magic Repairs to get your snagging list cleared without unnecessary replacement.
Frequently Asked Questions
Is a professional snagging inspection worth it?
It often is, particularly on a first home purchase where you may not know what to look for. An inspector checks rooms, loft space, garage and outside areas systematically, and a good report includes clear photographs and a written description of each defect. That evidence makes it harder for a developer to dispute an item. Costs vary by property size and inspection scope, so ask for a written scope before booking. If your budget is tight, a DIY check is still worthwhile, but be realistic about what you will miss.
Can I arrange a snagging inspection before completion?
You can, and it is often the best approach. Many homeowners arrange an inspection once they have legal completion dates confirmed but before they move furniture in, because empty rooms make defects easier to see. Some developers allow access for a pre-completion inspection, and the industry checklist used for this is designed to be carried out before you complete. Confirm access arrangements with your developer in writing, then book your inspector so the visit falls inside that window.
How do I report snags to a housebuilder so they actually get fixed?
Send your snagging list in writing rather than raising items verbally on site. Number each item, describe it clearly, and attach dated photographs so there is no dispute about what was reported and when. Keep a copy of everything you send. Ask for a written response with target dates. If items are not resolved, escalate through the developer's customer care process and keep your records. A clear, calm, well-evidenced list is far more effective than a long verbal complaint.
What should I do before a snagging inspector visits?
Make sure the property is accessible, including the loft, garage and any external store. Have your completion paperwork and developer contact details to hand. Avoid moving furniture or laying flooring before the visit, as this can hide defects or make them harder to inspect. Note anything you have already spotted yourself, so the inspector can confirm or expand on it. If you have already reported items to the developer, bring that correspondence so the report can reference it.
Can cosmetic snags like chipped baths or scratched worktops be repaired?
In many cases yes. Chips, scratches, scuffs, burns and small cracks on baths, shower trays, sinks, tiles, worktops, doors, uPVC frames and fitted furniture can often be filled, colour matched and refinished in place. That avoids the disruption and waste of ripping out a fixture that is otherwise sound. Suitability depends on the material, the extent and location of the damage, and how the surface is used. Send clear photographs of the damage, the whole item and the surrounding area, along with your address and postcode, so suitability can be assessed honestly.